This post is continuation to my earlier post about converting Wiki pages to PDF. Now, we’re going a step further by merging all existing Wiki pages to into a single final PDF.
No time to read, watch the Video tutorial below-
Prerequisites
Before we begin, please make sure the following prerequisites are in place:
- An Office 365 subscription with access to Power Automate (Flow).
- Muhimbi PDF Converter Services Online Free, full or trial subscription (Start trial).
- Appropriate privileges to create Flows.
- Working knowledge of Power Automate (Flow).
Now, on to the details of how to create a Power Automate (Flow) solution to merge all existing Wiki pages in a Wiki Page library of SharePoint Online to create a single PDF.
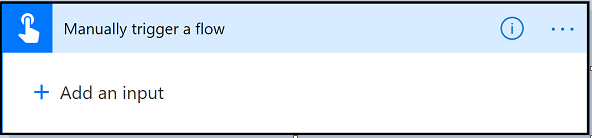
Step 1 – Manual Trigger
- We will be using the Manual Trigger for this solution.
- One of the important reasons for using the Manual trigger is that you would generally be merging the different Wiki pages in your SharePoint Online tenant to create a Merged PDF on demand.
- There is absolutely no need to generate a merged PDF every time a new wiki page is created.
Step 2 – Get Items
- For the ‘Site Address’ in the image below, choose the correct site address from the drop down menu.
- The Wiki pages are stored in a library of type Wiki Page Library. The action ‘Get items’ is an action generally used when working with Lists. So our Wiki Library won’t appear in the drop down menu. Instead, what you will get as choices in the drop down menu are List names.
- So what we can do is enter the GUID value of the Wiki Page Library to get all items (in other words Pages) present in the Wiki Page Library.

Step 3 – Initialize Variable
- Add ‘Initialize Variable‘ action to initialize a variable of type, ‘Array’ and name it ‘MergePDF’s’

Step 4 – Apply to Each
- In ‘Select an output from previous steps’, navigate to ‘Add Dynamic content‘ line and choose the ‘Value‘ option inside the ‘Get items‘ action.
- Add ‘Convert HTML to PDF‘ action and configure according to the instructions below.
- In the ‘Source URL or HTML‘, navigate to the ‘Add Dynamic content‘ line and choose ‘Link to Item‘ option inside the ‘Get items‘ action.
- For the ‘Page Orientation‘, select the ‘Landscape’ option from the drop down menu.
- For the ‘Media type‘, select the ‘Print‘ option from the drop down menu.
- For the ‘Authentication‘ type, select ‘SharePoint Online‘ from the drop down menu and enter the correct values for ‘UserName‘ and ‘Password‘ fields accordingly.
- Enter ‘10,000‘ (in ms) as a ‘Conversion Delay‘.

Step 5 – Append to Array Variable
- For the ‘Name‘ as shown in the image below, choose the ‘MergePDF’s‘ variable created earlier from the drop down menu.
- For the ‘Value‘, please make the configuration as follows-
{
“source_file_name”:@{concat(body(‘Convert_HTML_to_PDF’)?[‘base_file_name’],’.pdf’)} ,
“source_file_content”: @{body(‘Convert_HTML_to_PDF’)?[‘processed_file_content’]}
}
- It is very important to not to paste the entire expression above ‘as-is’ into the Value field.
- For the ‘source_file_name‘ , copy the parts highlighted in the red (do not copy the “@” and the “{}”) and then insert them in the ‘Expression‘ section and click on ‘Ok‘.
- For the ‘source_file_content‘, either copy the parts highlighted in red (without copying the “@” and “{}”) and insert them in the ‘Expression‘ section and click on ‘Ok‘ or navigate to the ‘Add Dynamic content‘ line and choose ‘Processed file content‘ from the ‘Convert HTML to PDF‘ action.

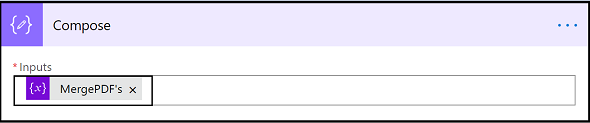
Step 6 – Compose
- Now move outside the ‘Apply to each‘ loop and add a ‘Compose‘ action.
- For the ‘Inputs‘ as shown in the image below, navigate to ‘Add dynamic content‘ line and select ‘Merge PDF’s‘ from the ‘Variables‘ option.
Step 7 – Merge Documents
- For the ‘Source Files‘ as shown in the image below, navigate to ‘Add dynamic content‘ line and choose ‘Outputs‘ from the ‘Compose‘ action.

Step 8 – Create File
- Now on to the final step where we create the merged PDF file which has the content of all the existing Wiki Pages.
- In the ‘Site Address‘ as shown in the image below, choose the correct site address from the drop down menu.
- Select the correct ‘Folder Path‘ from the drop down menu and this is where your Final Merged PDF will get created.
- Give a meaningful ‘File Name’ to the created PDF, but make sure you remember to add the extension ‘.pdf’ after the ‘File Name’ and to make the file name unique, or multiple runs of the flow will overwrite the same file. I recommend basing it on the source file name, but with some kind of suffix.I have used ‘Date‘ here which you can find in the ‘Add Dynamic content‘ line under the ‘Manual Trigger‘ step.
- Select the ‘Processed file content’ option, shown in the image below, to populate the ‘File Content’ field.

That’s it. Now go ahead and press that Manual trigger to fetch and that will fetch all the existing wiki pages from your SharePoint Online site , convert, and then merge them into a single PDF file.
Here is how it worked for me.
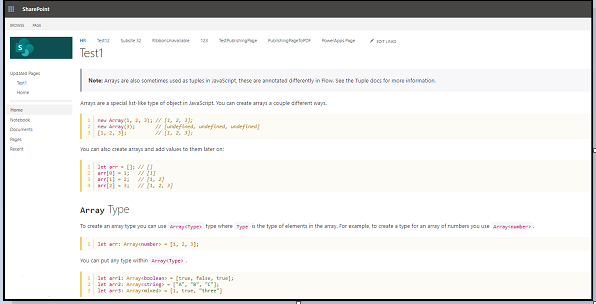
Existing Wiki Pages in SharePoint Online site-
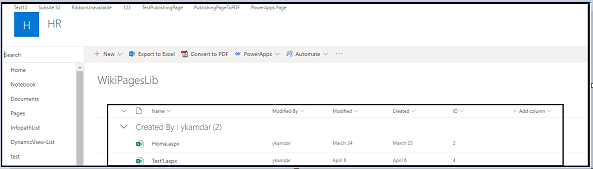
Wiki Page no 1 – Home.Aspx
Wiki Page no 2 – Text.Aspx
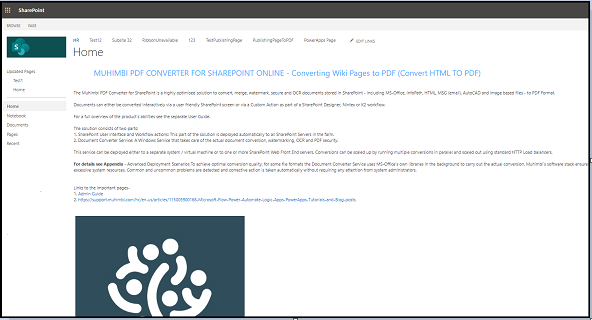
Final Merged PDF


Hello! Thank you for this tutorial. How do you acquire the “GUID value of the Wiki Page Library?”
LikeLiked by 1 person
Hello Alex, thank you for your comments.
Please take a look at this video in my youtube channel where I explain how to retrieve the GUID – https://www.youtube.com/watch?v=ocAuUVBZKaY.
If you don’t have enough time to go through the entire video just navigate to the time 06:50 of the video.
Let me know in case of any issues.
LikeLike